 11
11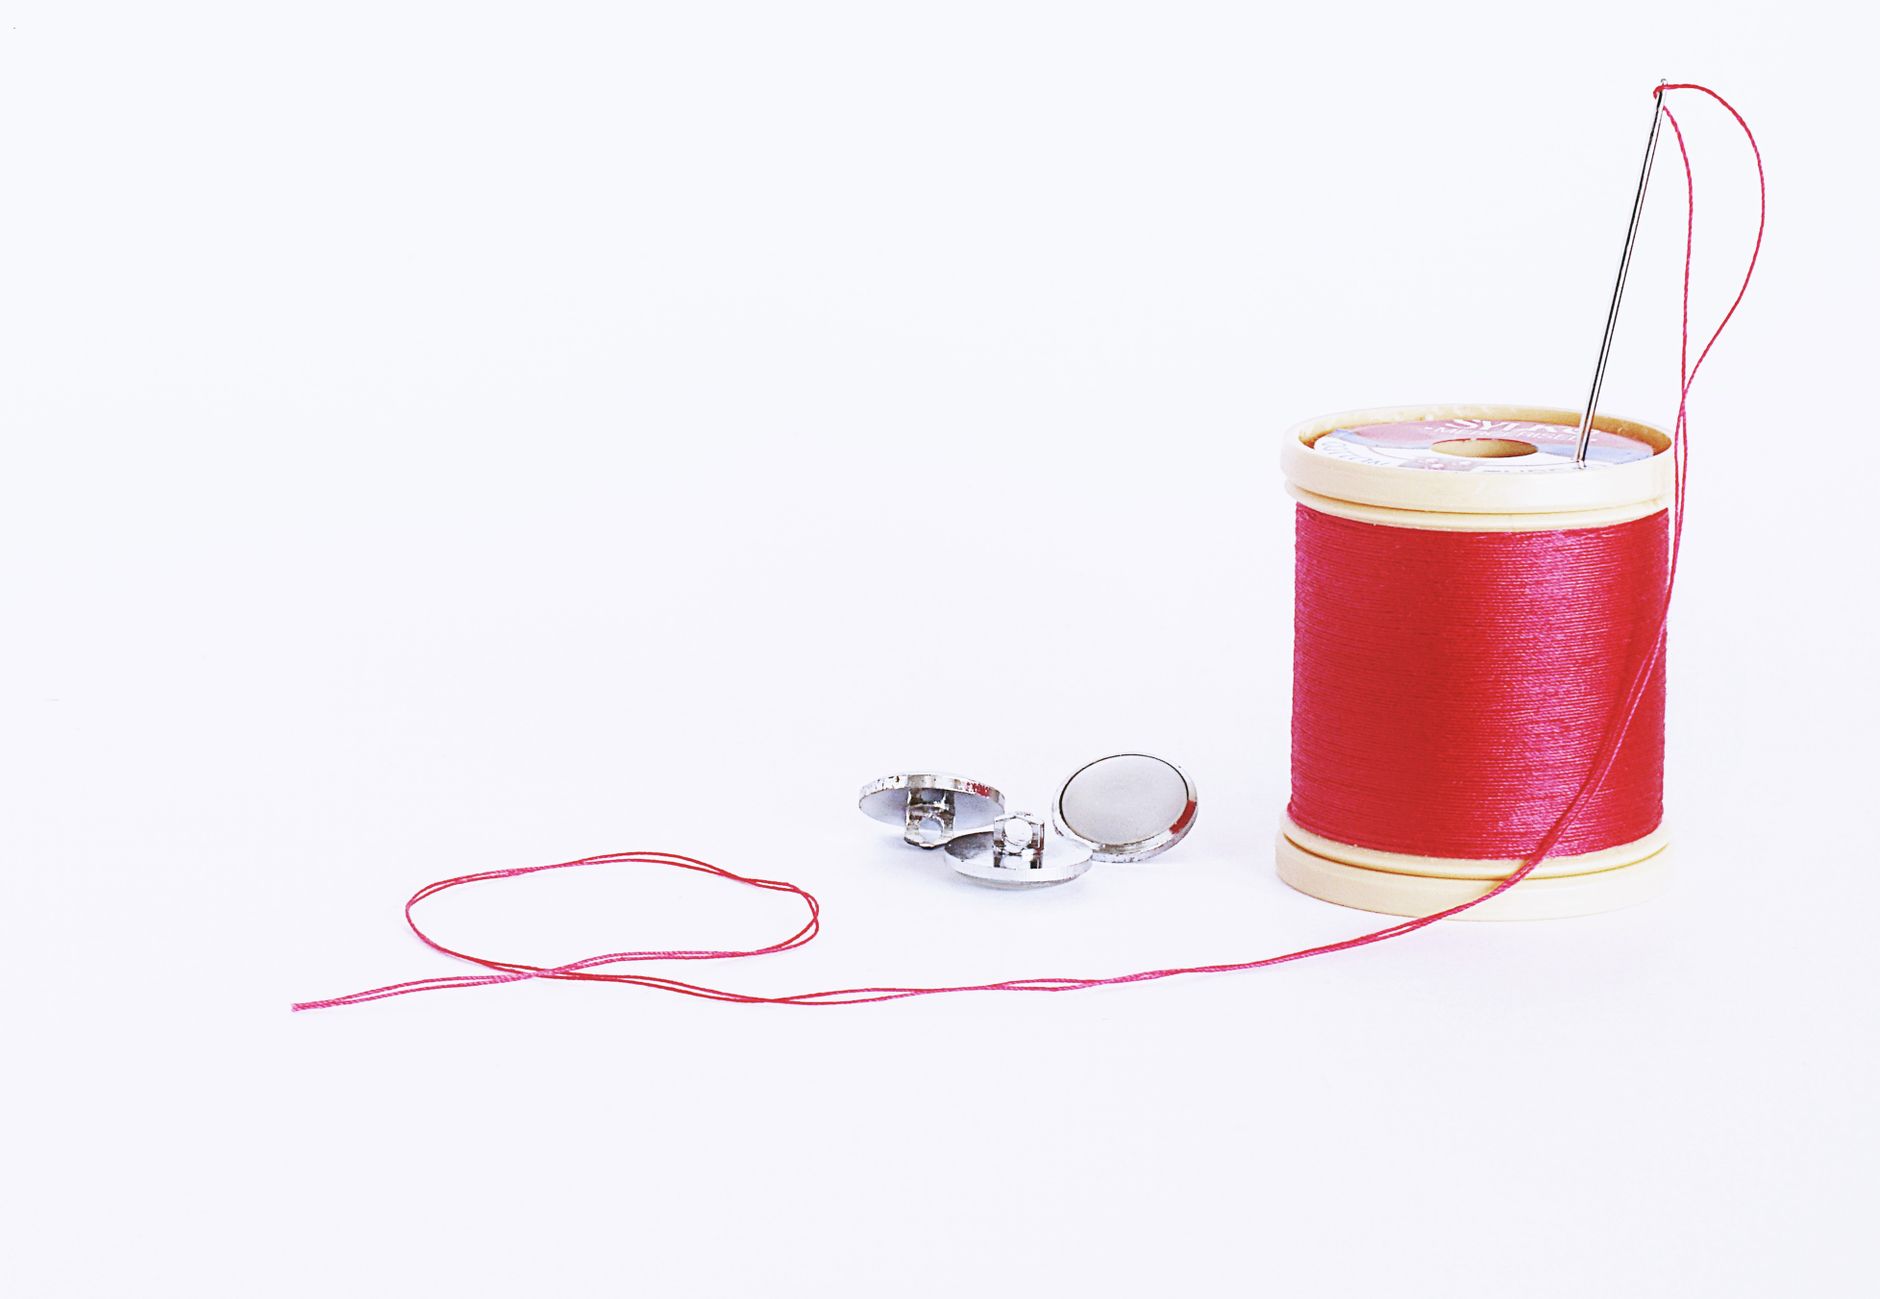
To sew a button, all you need is a needle, thread, and a bit of patience. Start by threading the needle and securing a knot at the end. Place the button where you want it on the fabric and push the needle up from the back. Sew around the holes of the button a few times to ensure it’s secure. That’s the basic technique of how to sew a button – simple yet essential for any DIY enthusiast or practical individual. Let’s dive deeper into this handy skill!

Sewing a button may seem like a simple task, but it is an essential skill that everyone should have. Knowing how to sew a button can save you time and money by allowing you to repair your own clothes instead of paying for professional alterations. Additionally, being able to sew a button can help you extend the life of your favorite garments and prevent you from having to throw them away when a button falls off. In this comprehensive guide, we will walk you through the steps of sewing a button, from selecting the right materials to finishing touches.
Before you start sewing a button, make sure you have the following materials ready:
– Needle
– Thread (matching the color of the garment)
– Button
– Scissors
– Garment with a missing button
– Pin or chalk (optional for marking)
When selecting a button for your garment, make sure it matches the size and color of the existing buttons. If your garment came with spare buttons, use one of those to ensure a perfect match. Choose a thread that closely matches the color of the garment for a seamless finish.
Take a length of thread (about 18 inches) and cut it using the scissors. Thread one end of the thread through the eye of the needle and double it up, so the needle is now in the middle of the thread. Tie a knot at the end of the thread to secure it in place.
To prevent the thread from pulling through the fabric, secure it by making a small knot at the end of the thread. You can do this by looping the thread around your finger and rolling it between your thumb and forefinger to create a knot.
Place the button on the garment where the missing button used to be. If there is a mark from the old button, align the new button with it. You can use a pin or chalk to mark the position if needed.
Start sewing the button by inserting the needle from the back of the fabric to the front through one of the buttonholes. Pull the thread through until the knot stops it from going any further.
To secure the button in place, create anchoring stitches by passing the needle through the fabric and buttonholes a few times. This will ensure that the button stays firmly attached to the garment.
Once you have made enough anchoring stitches, finish sewing the button by passing the needle to the back of the fabric and tying a knot to secure the thread. Trim any excess thread using the scissors.
– Use a thimble to protect your fingers when pushing the needle through tough fabrics.
– If the button is large or heavy, sew a small button on the inside of the garment to provide extra support.
– Practice sewing buttons on scrap fabric before attempting it on your garment to perfect your technique.
Congratulations! You have successfully learned how to sew a button. With this newfound skill, you can now confidently repair missing buttons on your clothes and extend the life of your favorite garments. Remember, practice makes perfect, so don’t be discouraged if your first few attempts are not perfect. Keep practicing, and soon you’ll be sewing buttons like a pro!
To thread a needle, cut a piece of thread about 18 inches long. Hold one end of the thread and insert the other end through the needle’s eye. Pull the thread through until both ends are even. You can also wet the tip of the thread slightly to make it easier to thread through the needle’s eye.
It is best to use a strong thread that matches the color of the garment or the button. A standard sewing thread will work well for most buttons. Make sure the thread is not too thick to fit through the buttonholes easily.
To secure a button properly, start by bringing the needle up through the fabric from the back. Place the button on the fabric and bring the needle up through one of the buttonholes. Then, take the needle down through the opposite buttonhole and fabric. Repeat this process several times to reinforce the button’s attachment. Finish by tying a knot on the back of the fabric.
In conclusion, sewing a button is a simple yet essential skill for anyone to learn. Start by threading the needle and securing a knot at the end. Next, sew through the buttonholes in a cross pattern to ensure a strong hold. Finally, secure the thread at the back with a knot to complete the process. Remember, mastering how to sew a button will come in handy for fixing loose buttons on clothing easily.